Next.js is one of the most powerful frameworks for building fast, SEO-friendly, and scalable websites. Built on React, it supports server-side rendering (SSR), static site generation (SSG), and modern performance optimizations.
In this guide, we'll walk through the exact steps to create and deploy a professional website using Next.js.
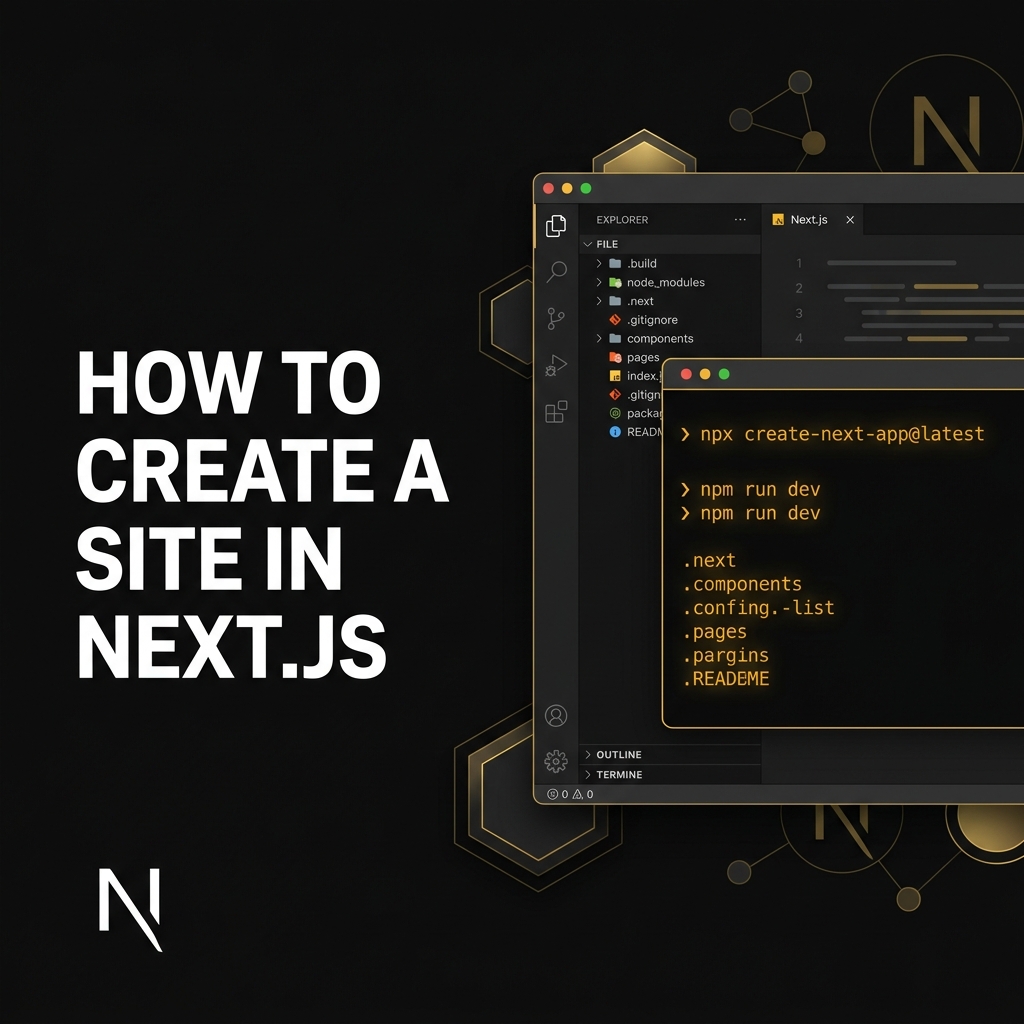
Step 1: Install and Create Your Project
Make sure Node.js (LTS version) is installed. Then run the following command:
npx create-next-app@latest my-next-siteAfter installation, run the development server:
cd my-next-site
npm run dev
Your site will now be running at http://localhost:3000.
Step 2: Understand the Folder Structure
Next.js uses a file-based routing system. Each folder inside the app directory becomes a route.
- app/page.js → Homepage
- app/about/page.js → About page
- app/services/page.js → Services page
Step 3: Create a New Page
To create a new route, simply create a folder inside app with a page.js file. Next.js automatically registers it — no manual routing required.
Step 4: Add Navigation
Use the built-in Link component from next/link for smooth, fast client-side transitions without full page reloads.
Step 5: Optimize Images
Use the next/image component for automatic optimization including lazy loading, automatic resizing, and improved SEO ranking.
Step 6: Build for Production
npm run build
npm run start
This generates an optimized production-ready build.
Step 7: Deploy Your Website
- Vercel (Official & easiest)
- Netlify
- AWS / DigitalOcean
Final Thoughts
Next.js allows you to build high-performance, scalable, and SEO-optimized websites with minimal setup. If your goal is to create a business website, SaaS platform, or modern web application, Next.js provides the performance and flexibility required for long-term growth.